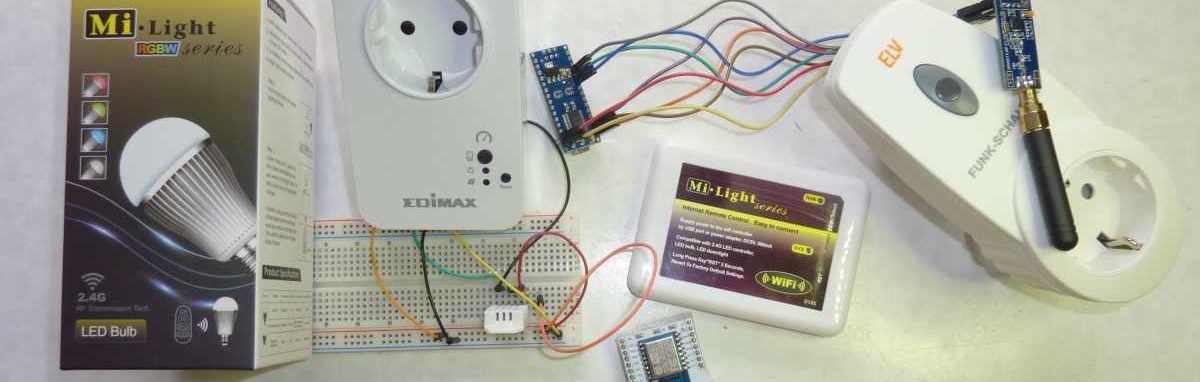
Knowing the basic concepts and tools of openHAB2 from previous blog contributions we are ready now for first setup of real home automatisation project. I have some Mi-Light bulbs in my house, therefore I want to start with these things. You can get the same Chinese hardware under other names: IWYLight, EasyBulb, LEDme, AppLight etc. etc.
I assume that the process described here is likewise for setup of Hue lamps and similar devices.
Use Case
I adapted the first slide for demonstrating our target setup. Let’s start with one RGB lamp.
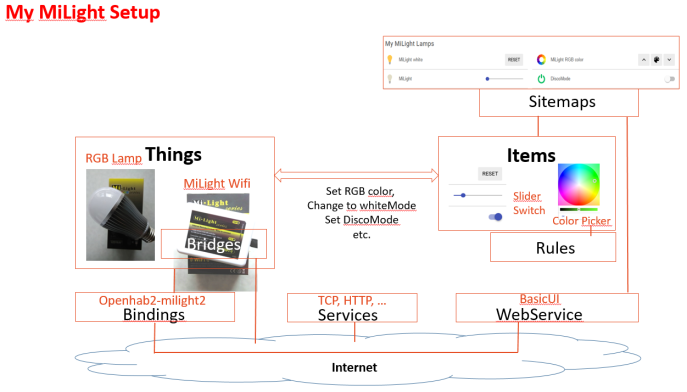
We have two things:
- RGB lamp
- MiLight Wifi gateway (this is a bridge)
Fortunally, there is already a binding for Milight implemented by David Graeff , see openHAB2-Milight2 git. The description tells us that the binding provides some channels for DiscoMode too.
Similar to native Milight smartphone app, we want to have following items (control elements):
- ColorPicker
- Switch (on/off)
- slider for brightness
We will use BasicUI for presentation which is indicated in right upper corner.
Prerequsites in openHAB2
At first I decided to clean up my repository. After playing with some demo projects it was wasted with lots of things and items.
In Karaf console (see previous blog contribution) I inserted
- things clear
- items clear
- links clear
(I had to repeat these steps until all elements are cleared, obviously there are same dependencies). With related “list” commands you can verify if the repository is empty.)
Please check that the configuration file <openHAB2 path>/conf/services/addons.cfg contains
package=standard (i.e. comment demo line to ignore demo things??)
Next step for preparation is installing the Milight binding. In Extensions- Bindings menu select “Milight Binding version 2.0” to install.
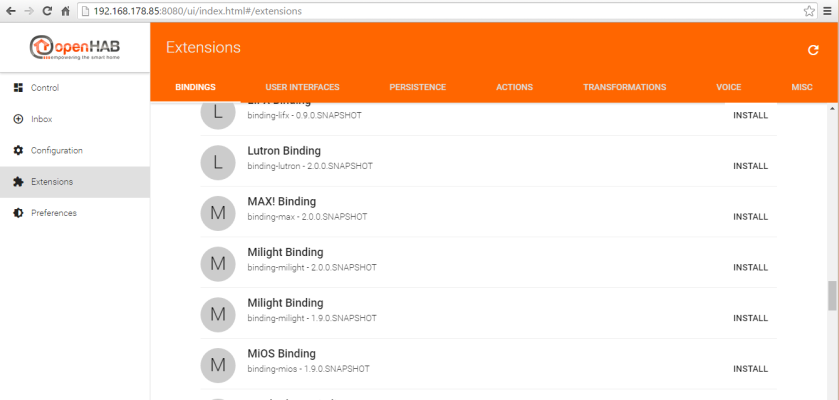
You can check the result in menu Configuration -> bindings:

By pressing the MORE button the supported things are shown:
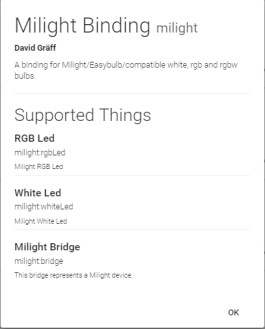
We are happy that our RGBLed bulb and the Bridge is listed.
Its assumed that your Milight is already integrated into your home network (e.g. for using it with native smartphone app). Else, you have to do it because the Milight Wifi element needs an IP address. Here is a (German) tutorial In my case the local fix IP address for Milight is 192.168.178.23.
Making Milight things known to openHAB2
The most easy way for integration is the Discovery service. Supply power to Milight Wifi element, switch on your lamp and go to Inbox panel which is empty this moment
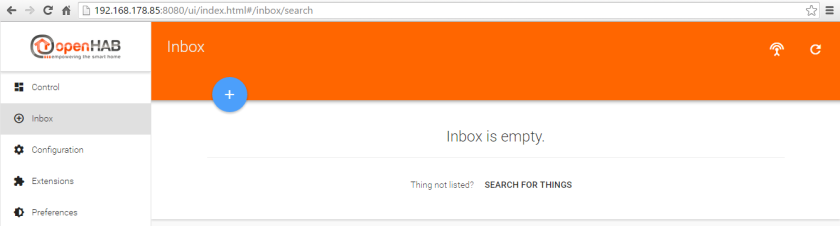
Click on SCAN button  and become euphoric!
This is the updated Things view:
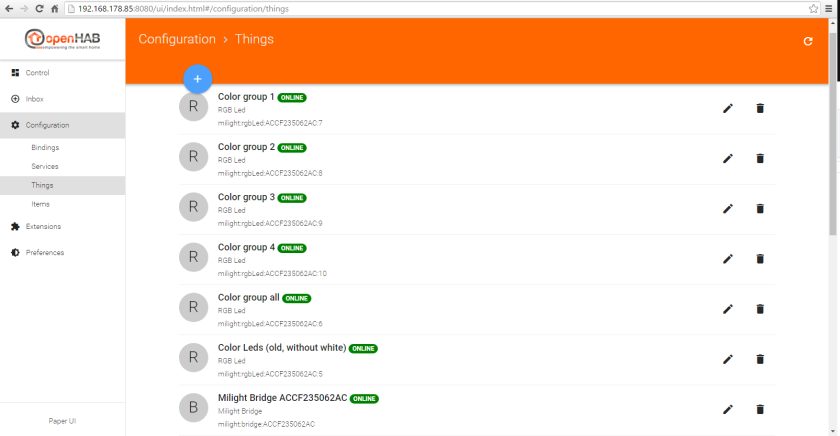
In the Configuration->Things panel we can see our Milight bridge and a lot of supported things.
Hint: There is a flag in <con>/services/runtime.cfg (“autolink”) where you can decide if the detected elements are moved automatically or if you want to have everything under your own control.
The Milight controller supports up to 4 RGB lamps (“Color groups”). Unfortunately the bridge does not know which bulbs are present and the bulbs do not have a bidirectional communication. Therefore all possible bulbs are presented here.
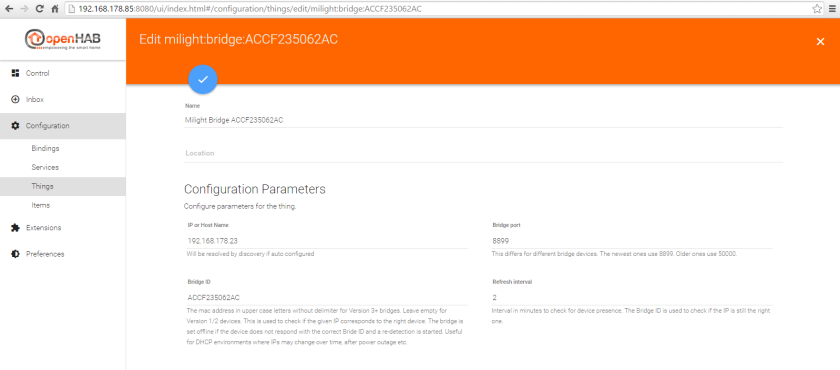
At first we need the bridge and Color group 1 only. The bridge properties are already discovered, just the location, e.g. “My room” is missing.
Now we can edit thing “Color group1”- but even her the bridge was automatically detected and linked. Wow! Its amazing!
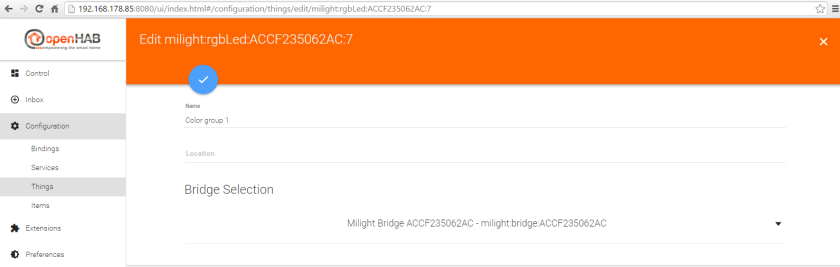
After confirmation of a location we get a view of provided channels:
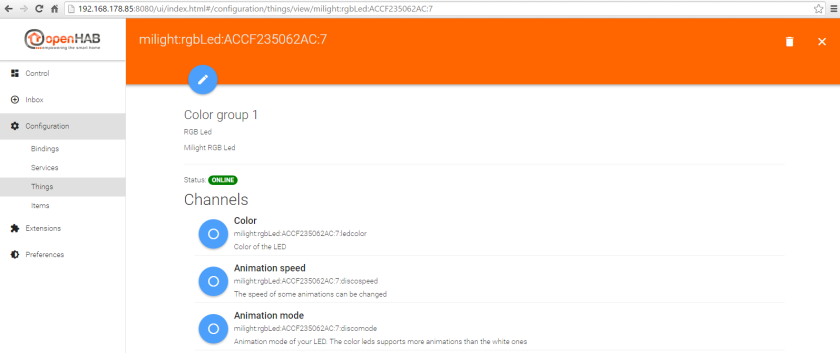
You can verify this in console with command “things list”. In the moment, the channels are not assigned to any item – you see an hollow white circle in the blue shapes.
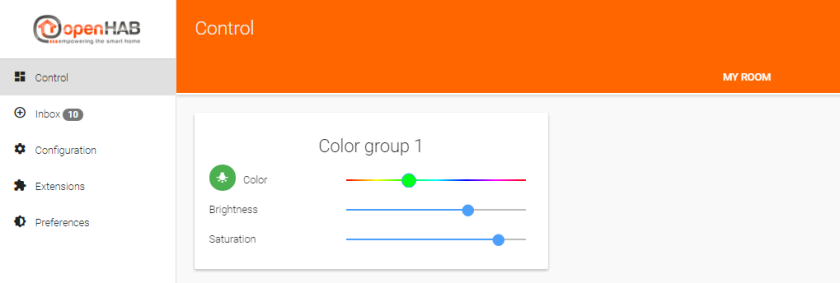
Finally, you can go to the “Control panel” and already play with the color. There is an automatically generated control for our lamp and it works perfectly!
In the next blog chapter we will expand this example and create our first sitemap.

2 thoughts on “Setup for Mi-Light based on PaperUI”